 |
Have you noticed the moon tonight?
|
Tonight is the Mid-Autumn Moon Festival, when the moon is said to be at it's brightest and, for one night only, perfectly round.
This year we decided to go all out celebrating the festival. Out came my Chinese festival book and I decided what we were going to do.
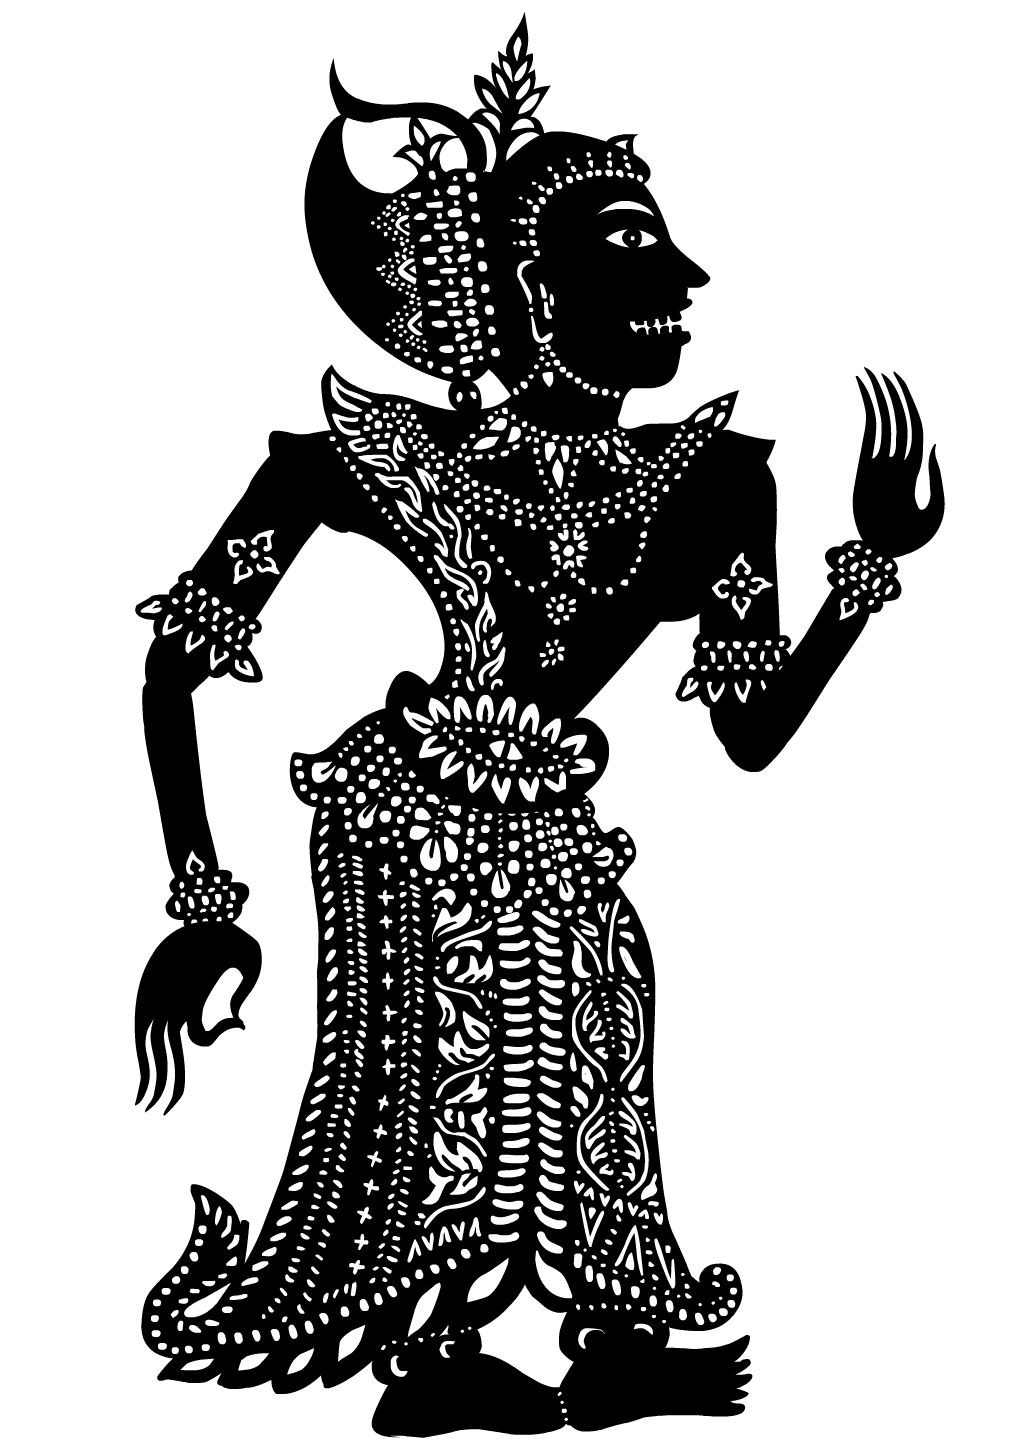
The main activity is eating moon cakes... which we will get to later! The book also mentioned that families get together and watch shadow puppets telling the story of Chang'e and Houyi... I don't know whether thats true, but it seemed like a great project to do with the kids! There were directions in the book, but we decided to do it our own way! :D
1. Get a largish box and remove any tape so that it is open at both top and bottom. The larger the box the bigger your theatre will be, meaning you can do larger more detailed puppets and also you can fit more characters onto the screen at a time... assuming you can hold them all!
1. Get a largish box and remove any tape so that it is open at both top and bottom. The larger the box the bigger your theatre will be, meaning you can do larger more detailed puppets and also you can fit more characters onto the screen at a time... assuming you can hold them all!
 |
| Here's ours. |
2. Cut one of the large sides off the box.
3. Cut a window in the other large side. remember to leave at least an inch or two to support the rest of the box!
 |
| The box with the removed pieces. |
 |
| NB: This is "back stage" where the puppeteers will be! |
4. Cover the window and your shadow theatre is complete! I used fabric from an old bed sheet, but you could also use paper.
 |
| I stuck the fabric on with sticky tape. |
 |
| The front of the finished theatre. Shone's dolly was performing at the back! lol |
I'm hoping that at some point we will decorate the theatre, even if that just means painting it black! I chose to use fabric as it is obviously more flexible, meaning it is less likely to get ripped! I was also thinking it would be easier to remove when we're ready to refurbish the thea-e-tarrr! (said with a posh English accent! lol)
Next up was the puppets!
1. Draw your puppet design on a piece of paper, Wiyot decided to do a dragon. This is just a template so it doesn't need to be too detailed.
 |
| Wiyot demonstrating his ambidextrous tendencies! |
 |
| You only need to draw an outline, Wiyot got a little carried away! |
2. Carefully cut around the outline of your drawing.
3. Decide if there are any parts you would like to be moveable and cut those sections off. For the dragon, which had now become Toothless from How To Train Your Dragon, we decided the wings should be the moving parts.
4. Lay the pieces on thick paper or card and trace around the edges. Remember to add extra where the movable parts will be connected to the main body. I added about 1.5cm.
 |
| You can just about make out the extra card at the edge of the wings. |
 |
| Ready to cut out |
5. Carefully cut out each of the puppet parts. I used scissors for the larger areas and a craft knife for the details. Wiyot hasn't had much cutting practice yet, which is why I did this myself! Also the card we used was pretty thick and so fairly difficult to cut.
6. Now you re-attatch the movable parts. Piece a hole through the pieces you are joining and secure with a split pin/brad.
BONUS: To add some colour to our puppet, we covered the eye and mouth holes with sweet wrappers. I'm pretty sure coloured tissue would also work, but I haven't tried it myself!
7. Attach rods to the back to allow you to control the puppet. The only thing that I could find (around the house) was bendy straws! They worked pretty well, not too dangerous for little ones, and also you can change the angle on them to help you control the puppet. The drawback being that they are not very strong, so not good for a larger (heavier) puppet. Also they are not very long, resulting in puppeteer-hand shadows if you are not extremely careful!
The finished puppet:
 |
From the back
|
 |
| And from the front |
NB, you can use whatever colour card you like and can also decorate the puppets. The shaddow will still be black though! lol
 |
| Peek-a-boo! |
 |
| Pretty cool, eh? |
Oh yeah, you also need some sort of light to create the shadows, a multi positional desk lamp is good for this. I used my solar power one from Ikea. (Also comes in handy for knitting/reading in the car at night.... not while driving obviously!)
 |
| Behind the scenes! |
The kids loved it! Wiyot spent ages acting out scenes with Toothless, making Shone roll with laughter! :D They then held various toys up to see what their shadows looked like, the dinosaur figures were a big hit! I think its going to be pretty versatile too, we can make props and scenery as well as all different characters. The kids can then act out their favourite stories, or create their own tales. I'm thinking it will be great for halloween too!
Lanterns are also popular for the moon festival. They are used as decorations, children carry them hanging on long poles and also sky lanterns are released. I really wanted to do the sky lanterns, but I left it a little late to order them (I wanted to get the more environmentally friendly biodegradable one's) so we just made decorative paper ones instead.
The ones we made were from a kit I got free. The card is pre-cut and scored, plus all different colours of tissue are provided. They are very quick and easy to make, but look really pretty.
 |
| Shone sticking down her tissue |
 |
| Daddy giving Wiyot a hand |
 |
| Very proud of her creation |
 |
| No surprises in Wiyots colour choice! |
 |
| Pretty! :) |
And to finish, what moon festival would be complete without a mooncake and a cup of tea!
 |
| Lotus seed paste with two yokes |

I'm pretty sure this is the first time Wiyot and Shone have tried mooncakes...
 |
| Say, "Mooncakes!" |

Lets just say they weren't what they were expecting! Danny and I enjoyed them anyway!
Sorry about the rather looooong post!
Thanks for reading! xx
Mooncakes:) They are not what you expect by "sweet cake"!
ReplyDelete